Step 1. Make sure you have the latest version of Corsair iCUE. You can grab it from the official Corsair website which is what I recommend because iCUE has had issues auto-updating in the past and it would lead many to believe they had the latest version when they did not.
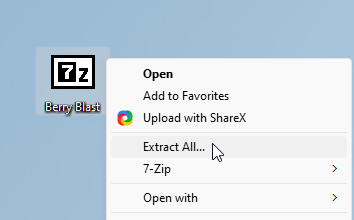
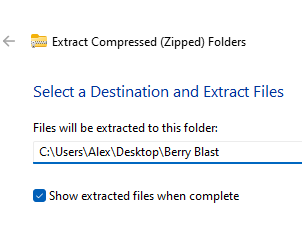
Step 2. Un-zip the contents of the zip file you downloaded from my website onto your desktop.
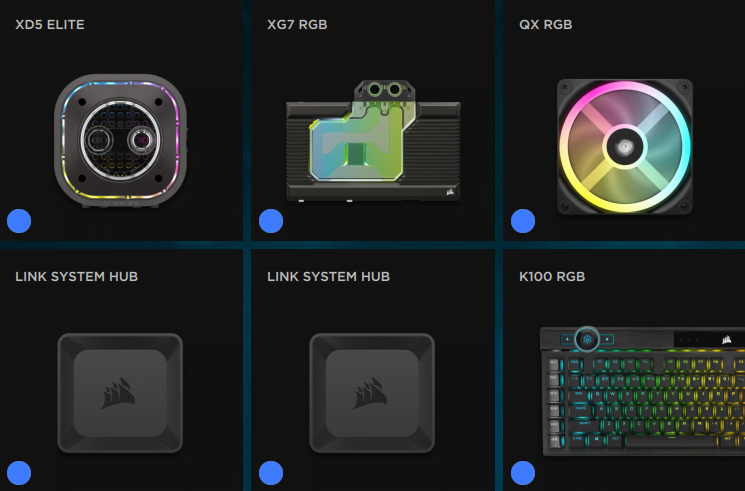
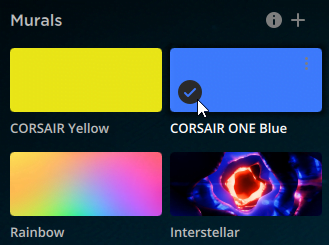
Step 3. Next, make sure you have iCUE murals disabled. You’ll know it’s on if you see a dot in the bottom left corner of every device. To disable it, just un-check the checked mural under the murals section.
Step 4. Now click in the top left corner by your existing profile name.

It will reveal the import/export icon.

Click this icon to open the import menu.
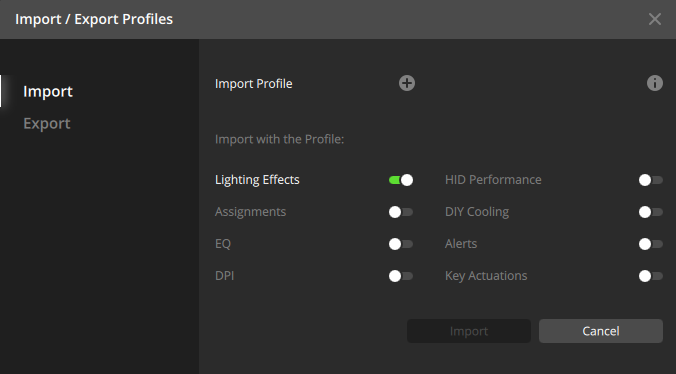
Step 5. Press the + button.

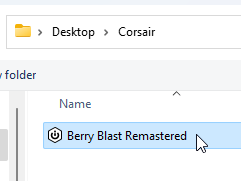
Navigate to the .cueprofile or .cuefolder that you un-zipped onto your desktop earlier. Once you find it, double click on it.
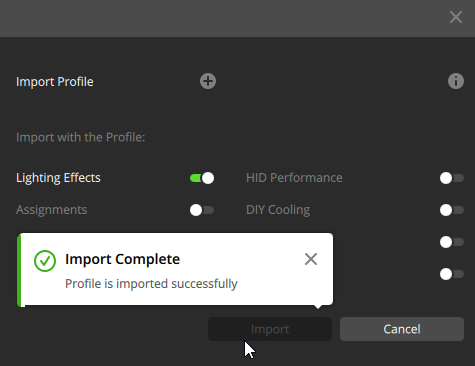
Step 6. Press import. It might take a second if it’s a larger collection of profiles but it will eventually tell you that the profiles imported successfully.

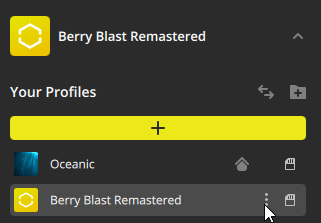
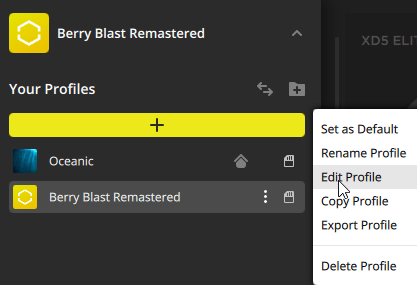
Step 7 (optional). Now I’ll show you how to add the included icons and backgrounds for my profiles. Click the three dots next to the profile name and click edit profile.
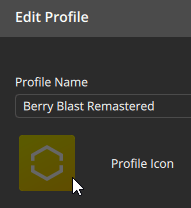
Step 8 (optional). Click the profile icon and then click the + button.
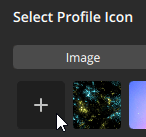
Locate the the icon that came with the my RGB profile and double click it. Then press OK at the bottom.

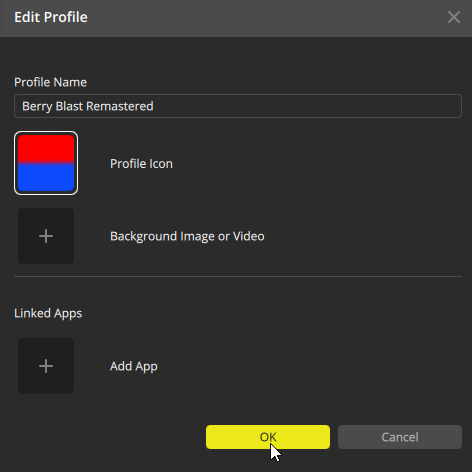
Step 9 (optional. Now do the same thing for the background and select the included background image.
You’re all set!